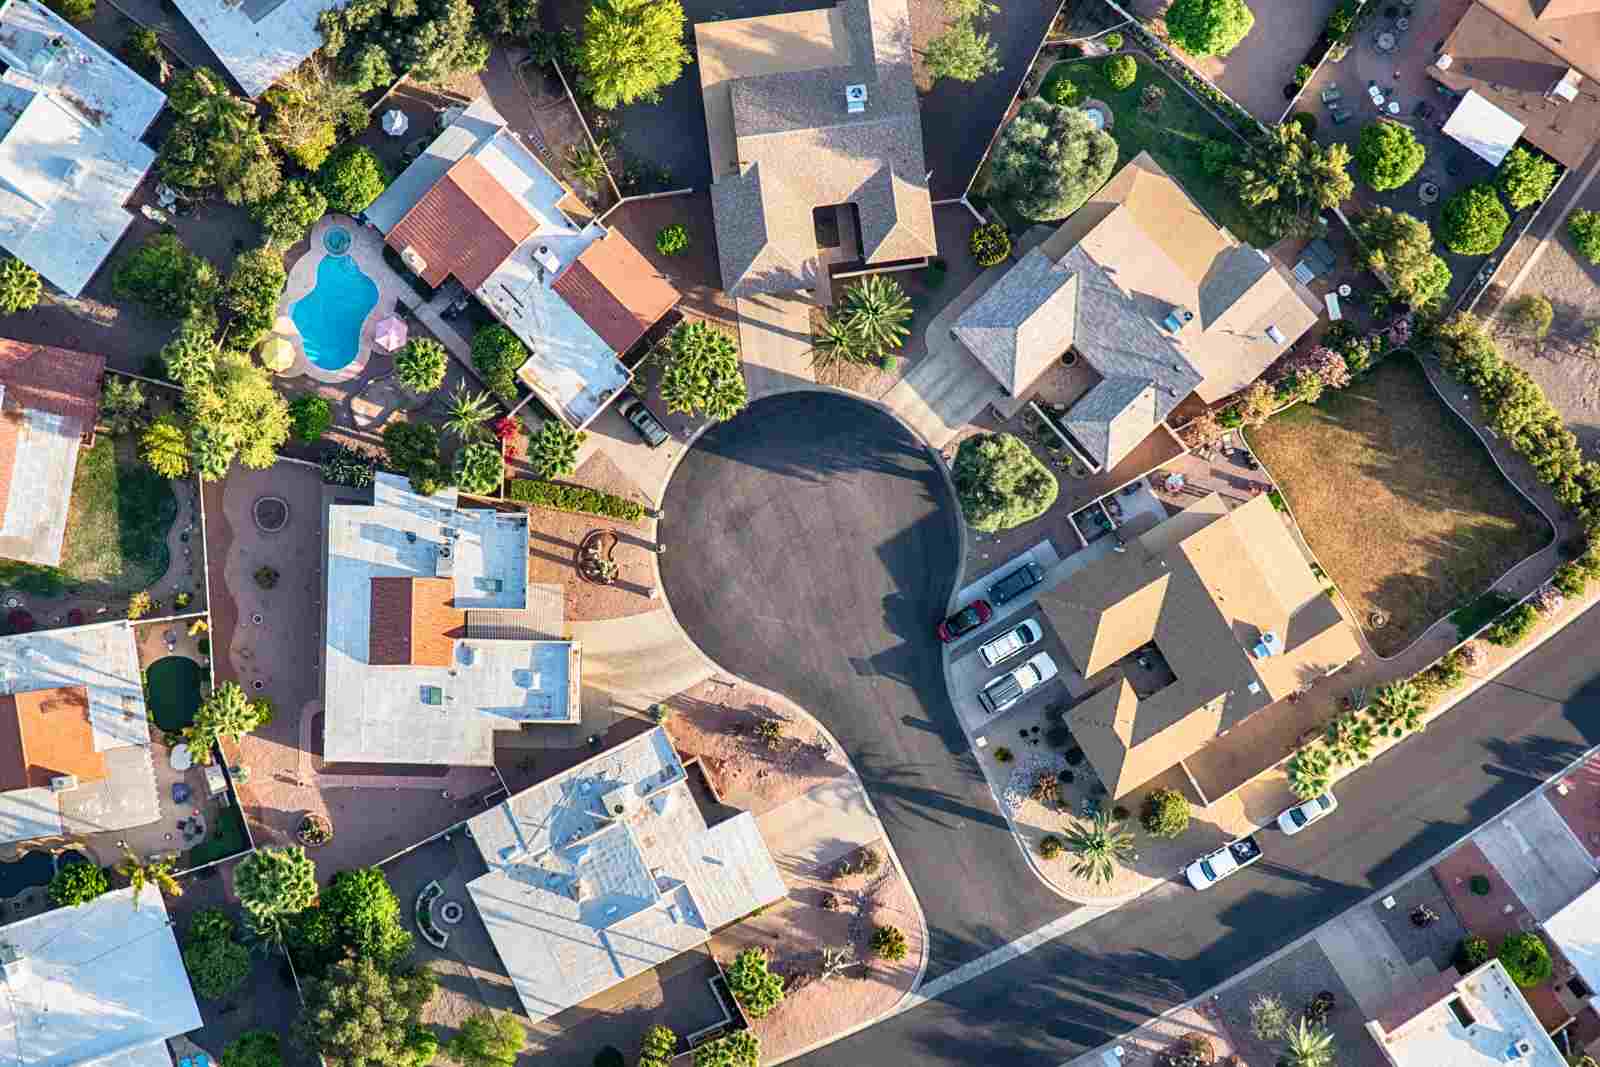
With many homebuyers searching for homes online, the demand for high-quality photography is increasing daily. As a real estate agent, you should learn to take high-quality photos for your listings to stand out. If you are a beginner, you need the real estate photography starter kit.
99% of homebuyers use the internet to search for homes before making a purchase decision.
Therefore, as a real estate agent, you should know that captivating images are essential for attracting potential buyers.
However, you’ll need the right tools before engaging in real estate photography. That’s why I will unveil the best real estate photography starter kit.
Keep reading to know everything you need to get started in real estate photography. You can also subscribe to our email list to receive insider tips on real estate photography.
The Essential Equipment for Real Estate Photography
While professional-grade equipment can elevate your work, you don’t need a fortune to start. For instance, I started with a smartphone with a high-quality camera when starting real estate photography.
However, I will show you the real estate photography starter kit if you have a small budget to gear up your career.
1. A Camera

A DSLR or mirrorless camera with interchangeable lenses is ideal to start your real estate photography career. You should look for a large enough sensor (APS-C or full-frame) camera to capture good low-light performance and high image quality.
Even recent high-end smartphones can produce excellent results, but they might limit your creative control and future upgradeability.
Furthermore, 72.2% of real estate agents say that high-quality photos have helped them sell more.
2. Lens
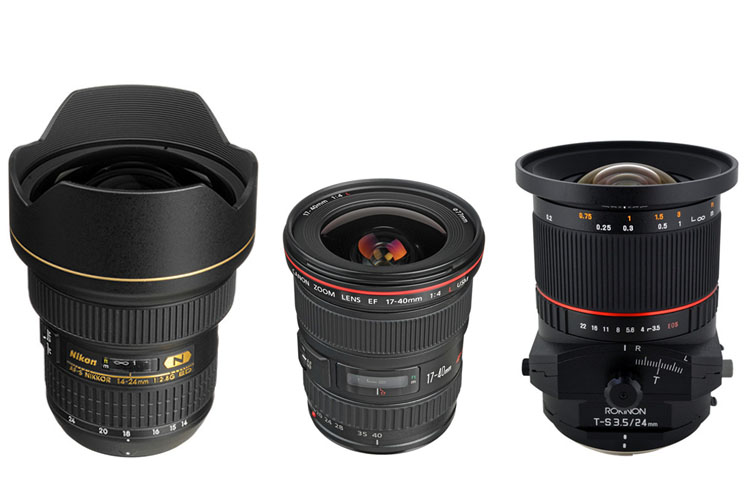
A wide-angle lens is crucial for capturing spacious interiors without distortion. You can start with a 10mm to 24mm lens on a full-frame camera or a 16mm to 35mm range on a cropped sensor camera.
High-quality lenses can help you capture stunning interior images for your listings. In addition, you can accurately show the actual size of the interior with good lenses.
3. Tripod
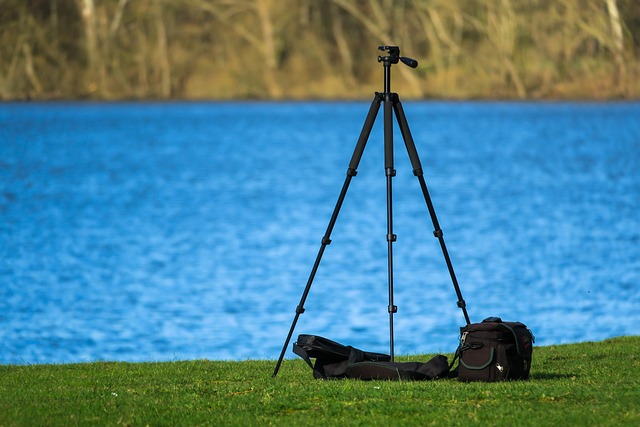
A sturdy tripod is essential for ensuring sharp images, especially in low-light situations requiring slower shutter speeds. Look for a tripod with a solid build and a ball head for easy composition adjustments.
Whether you are using a camera or a smartphone, you can get a tripod suitable for them. When searching for a tripod, ensure you get a lightweight one to enable you to move around if you are doing a property tour.
4. Remote shutter release
A remote shutter release helps minimize camera shake when triggering the shutter, which is especially important when using a tripod.
The remote shutter release allows you to trigger your camera’s shutter without touching it. This is ideal when a slight shake in the camera can ruin the quality of your photo.
5. Lighting
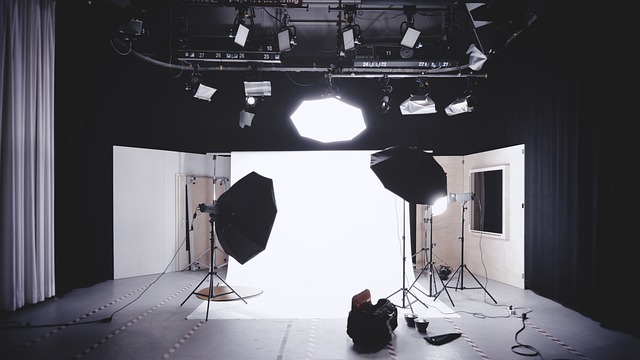
Natural light is always preferred, but a bounce flash can help fill in shadows and create more even lighting, particularly in dimly lit rooms.
You can choose to shoot when there are no shadows if you dont have enough money to get shadow diffuser lighting.
You can use light stands and diffusers, which allow you to control and soften artificial light for more professional-looking results.
6. Spare batteries and memory cards
Running out of power or storage space during the shooting is disastrous. Therefore, you should pack extras to avoid any hiccups.
If you are using your phone, you should ensure it is fully charged before leaving. In addition, you should carry a portable power bank to charge your phone when the battery is low.
In addition, a smartphone with high internal storage is ideal and a surplus memory card. Before you start shooting, you can set your storage to be a phone or a memory card, depending on where there is enough storage.
7. Drone

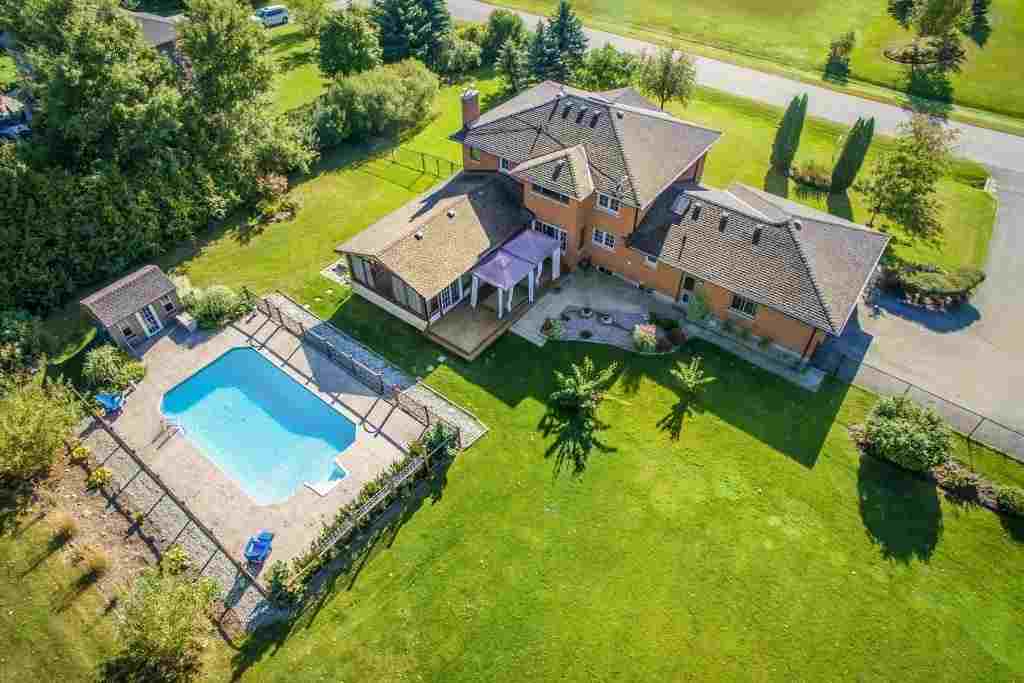
Aerial photography can showcase stunning property exteriors and surrounding landscapes. However, you should check local regulations before using a drone for commercial purposes.
Statistics show that listings with aerial photos sell 68% faster than those without. This means it’s important to leverage drone photography to sell your properties faster.
I know acquiring a drone is very costly, especially for a beginner. Now, we have the best drones to capture high-quality photos and videos. You can reach out to us for a quote to elevate your real estate photography.
Editing Essentials for Real Estate Photography
To get great photos, you need a touch of post-processing magic. Editing software can help you get stunning photos for your listings.
If you are already a professional editor, you can consider Adobe Lightroom and Photoshop. These industry-standard programs offer powerful tools for photo editing, organization, and management.
There are also free softwares such as GIMP and the free version of Canva with a vast array of editing capabilities. In addition, Canva is beginner-friendly if you are new to editing.
How to Build Your Real Estate Photography Skills
Gear is just one piece of the puzzle. Mastering the art of real estate photography requires honing your technical skills and developing an eye for creating captivating visuals.
You should learn the rules of composition, like leading lines, the rule of thirds, and negative space, to create visually balanced and engaging images.
You should also understand how natural and artificial light work together. In addition, you should practice controlling light to illuminate rooms evenly and avoid harsh shadows.
You should also learn HDR (High Dynamic Range) photography: This technique combines multiple exposures to capture details in both highlights and shadows, beneficial for real estate photos with large windows.
As a real estate photographer, you should learn white balance and ensure your photos have accurate color temperatures to avoid an unrealistic cast.
Mastering the Art of the Real Estate Shoot
Now that you’re equipped with the knowledge and tools, I will guide you on how to take a real estate shoot.
- Pre-production planning
Before arriving, discuss the property with the realtor and understand their vision. You can also research the property beforehand to understand the layout and lighting conditions.
- Declutter and de-personalize
You should advise the homeowner to remove clutter and personal belongings to create a clean and spacious feel. This will enable you to take high-quality images of the house without distractions.
- Staging
Simple staging techniques, like arranging furniture and adding decorative touches, can significantly enhance a property’s visual appeal. In addition, you can consider having colors such as white and grey before shooting the property.
- Shoot during the golden hour
The hour after sunrise or before sunset offers the softest and most flattering natural light. You can also consider shooting at noon when there are no shadows.
- Capture various shots
Take wide-angle shots of each room, detail shots of unique features, and exterior shots showcasing the property’s curb appeal.
- Post-processing workflow
Develop a consistent post-processing workflow to ensure a cohesive look and feel for your images. Adjust white balance, exposure, and enhance details while maintaining a natural look.
What Next After Creating Real Estate Photos?

- Marketing yourself
A real estate agent’s solid portfolio is crucial to attracting clients. You can start by building a website showcasing your work and highlighting your unique perspective on real estate photography.
- Network with realtors
You should connect with local real estate agents and explain how your skills can benefit their business. To stand out, you should also offer competitive rates and excellent customer service.
- Social media presence
Build a social media presence on Instagram, TikTok, and Facebook to showcase your work and connect with potential clients. However, to establish yourself as an expert, you should share high-quality photos, behind-the-scenes glimpses, and valuable photography tips
- Customer service is key
Building trust and exceeding client expectations is essential for establishing a successful real estate photography business. Therefore, you should be reliable, professional, and open to feedback.
- Stay updated
Real estate photography trends and techniques are constantly evolving. To stay ahead of the curve, participate in online communities, workshops, and masterclasses.
Conclusion
With dedication, practice, and the right equipment, you can turn your passion for photography into a thriving real estate photography business. This real estate photography starter kit provides a solid foundation. Your journey of a thousand clicks begins with a single shutter release.
So, grab your camera, hone your skills, and capture properties in the best light possible! For drone coverage service, contact us for a quote.
Real Estate Photography Starter Kit: FAQs
- Do I need a high-end camera to get started?
While a high-end camera can certainly elevate your work, you don’t necessarily need one to begin. A good quality DSLR or mirrorless camera with a large enough sensor and a wide-angle lens is a great starting point. Even some high-end smartphones can produce excellent results, but they might limit your creative control and future upgradeability.
- How much should I charge for my real estate photography services?
Pricing can vary depending on your location, experience level, and the scope of the project. You can research what other photographers in your area charge and consider offering packages with different options (e.g., the number of photos and drone photography included). It’s essential to find a price point that is competitive yet reflects the value you bring.
- How can I find clients as a new real estate photographer?
Network with local real estate agents! Reach out to them directly, attend industry events, and build relationships. You can also offer competitive rates and excellent customer service to stand out. Building a solid online presence with a website and social media profiles showcasing your work is also crucial for attracting clients.
- What are some resources to help me learn more about real estate photography?
There are many online resources available, including photography blogs, tutorials, and online courses specifically geared towards real estate photography. Consider joining online communities of real estate photographers to connect with others, share experiences, and learn from each other.
- Should I offer additional services like virtual tours?
Additional services like virtual tours can make you a more attractive option for clients. However, you’ll need to invest in additional equipment and software depending on the type of virtual tour you want to create.

